Get Started
Prerequisites
- A server with Docker and Docker Compose installed.
- A registered domain name.
- Point the domains
player.example.comandapi-player.example.comto the public IP address of your server.
Setup
Create a directory for your VideoCMS installation:
mkdir videocms
cd videocms
Create a
docker-compose.yamlfile:Create a file named
docker-compose.yamlwith the following content. This configuration uses Caddy to automatically handle HTTPS for your domains.version: "3.8" services: api: image: kirari04/videocms:alpha restart: unless-stopped networks: - videocmsnet volumes: - ./videos:/app/videos - ./database:/app/database panel: image: kirari04/videocms:panel restart: unless-stopped networks: - videocmsnet environment: - NUXT_PUBLIC_API_URL=https://api-player.example.com/api - NUXT_PUBLIC_BASE_URL=https://api-player.example.com - NUXT_PUBLIC_NAME=VideoCMS caddy: image: caddy:2-alpine restart: unless-stopped ports: - "80:80" - "443:443" volumes: - ./Caddyfile:/etc/caddy/Caddyfile - caddy_data:/data networks: - videocmsnet networks: videocmsnet: driver: bridge volumes: caddy_data: {}Create a
Caddyfile:Create a file named
Caddyfileand replaceplayer.example.comandapi-player.example.comwith your actual domains.player.example.com { reverse_proxy panel:3000 } api-player.example.com { reverse_proxy api:3000 }Start the application:
Run the following command to start all services.
docker compose up -d
Initial Configuration
On the first startup, a default user with the username admin and the password 12345678 is created.
You can now open the panel on https://player.example.com/login and login using the default credentials.
Next, navigate to the Config Page at https://player.example.com/my/config.
Replace the Value of BaseUrl with the URL of your API, which is https://api-player.example.com.
Make sure to save the changes using the save button at the bottom of the page.
After modifying the settings you should restart the containers.
docker compose down
docker compose up -d
Start Sharing Videos
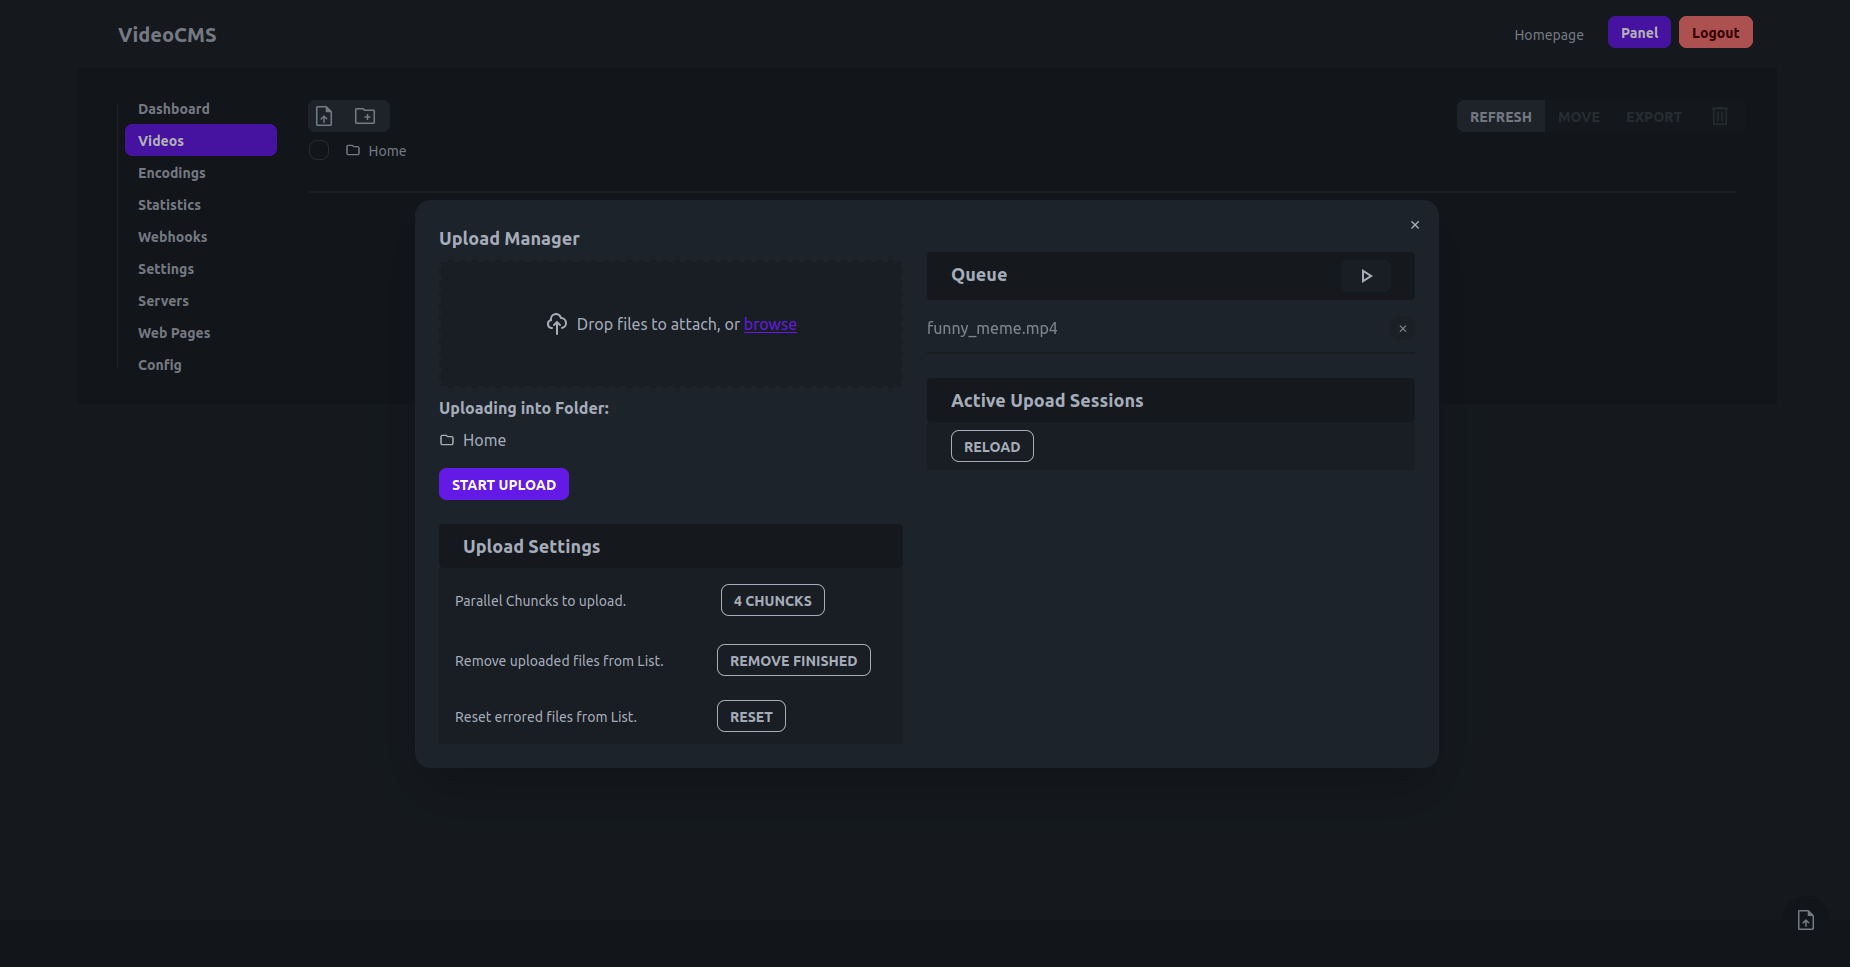
You can now navigate to the Video Page at https://player.example.com/my/videos and start uploading your first clip by pressing start upload.

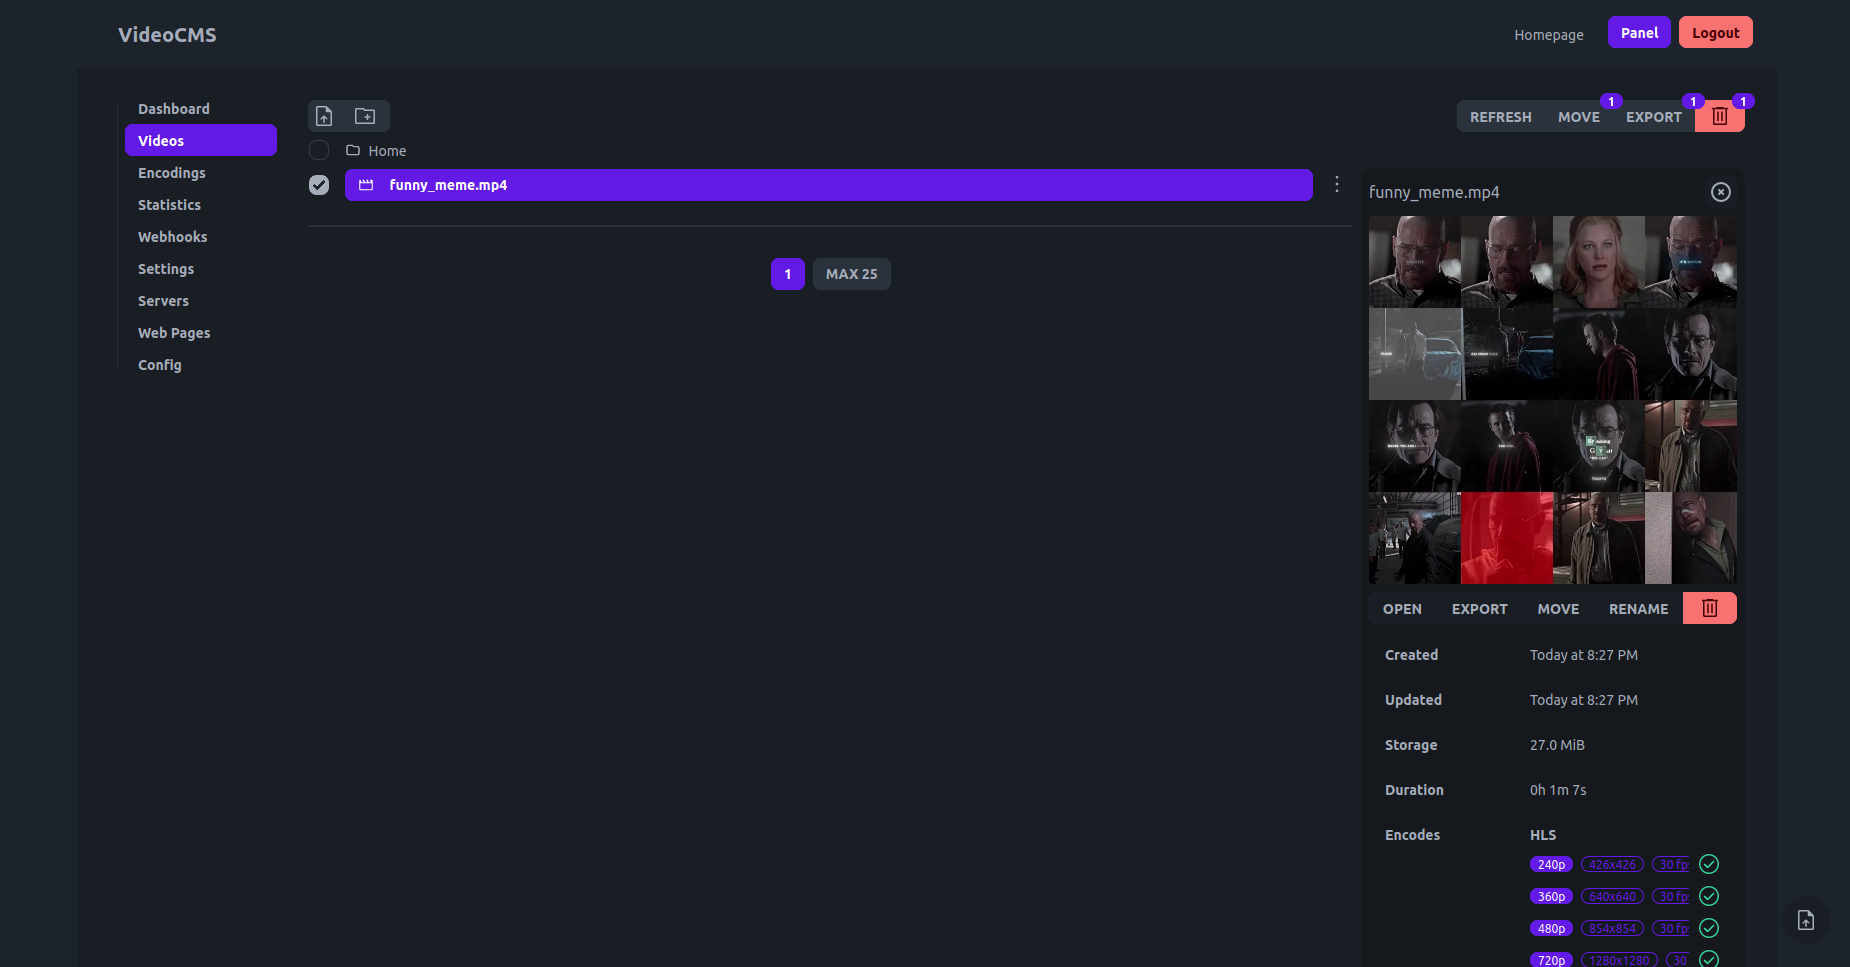
After the upload has finished you can close the Upload Manager and press on the refresh button.
The Video will show up in the list and if you click on it you get some more detailed informations.

